LTD Power by Bagel

Discussion on Stirling or "hot air" engines (all types)
Jerry
Posts: 79
Joined: Sun Jul 29, 2012 10:42 pm
Location: Las Vegas

Re: LTD Power by Bagel

Post by Jerry »

Thanks Ian, it's slow but steady when I have the time. I find myself dreaming of a machine shop, but I won't let my lack of tools hold me back.

Got the crank webs mostly finished today. Still have some cleaning up to do, but that's true of the entire project. Displacer crankweb holes are offset at 3/8", the power piston crankweb holes at 1/4". Had too much trouble shaping the power piston crankwebs, so I left the displacer ones square with rounded off corners. Gave them the same stoned finish treatment as I did the top plate.
ImageImageImage

Won't be soldering/loctite(ing) the crankshaft till everything else is ready, and I have time to build a jig.
Next up, the bagel shaped flywheel.
If I seem argumentative, I apologize. I like to explore many sides of an issue.
I love to be shown I'm wrong, after all, Dad always said to learn from my mistakes!
Jerry
Posts: 79
Joined: Sun Jul 29, 2012 10:42 pm
Location: Las Vegas

Re: LTD Power by Bagel

Post by Jerry »

Working on assembling the crankshaft, need some advice. I have clamped the two displacer crankwebs with 1/2" spacers between them, and carefully aligned and tightened the clamps till the crankshaft slides easily. I believe this gives me a true set, but I only have an old staircase angle to use to check for perpendicular alignment, and it's a bit large and unweildy to use perfectly. Here's a pic of the clamped setup, still haven't soldered/loctited, trying to do this on the first try. The offset crankshaft is inside the 1/2" brass bushing I'm using as a spacer, of course it's not soldered/loctited yet either. I would appreciate suggestions if anyone has a better idea for a jig arrangement.
Image
If I seem argumentative, I apologize. I like to explore many sides of an issue.
I love to be shown I'm wrong, after all, Dad always said to learn from my mistakes!
Ian S C
Posts: 2218
Joined: Thu Dec 02, 2010 5:15 am
Location: New Zealand

Re: LTD Power by Bagel

Post by Ian S C »

Jerry, look on my gallery, there is a sketch of a crankshaft assembly that requires no jigs, the only thing is, you'v got to be able to fit the con-rod between the crankpin and the main shaft, the main shaft gets cut between the crank webs after the crankshaft is soldered/ glued. The little beam engine there has a crankshaft made of 3 mm dia rod, the webs are 2 mm thick, and it is held together with Loctite. Your crankwebs could well be thicker, that would strengthen the shaft a lot, say 1/4", you don't really need to counter balance the shaft. Ian S C
Jerry
Posts: 79
Joined: Sun Jul 29, 2012 10:42 pm
Location: Las Vegas

Re: LTD Power by Bagel

Post by Jerry »

Hmmm, thanks Ian. I thought counterbalancing the shaft was more important than it really is, so I'm not so worried about shaping the webs now that you have told me this. I cannot bend these webs with my fingers more than a tiny bit (really just flexes barely at all), so I'm pretty sure they will be strong enough for an LTD running off a bagel (will find out soon enough). I do have another set of brass hinge pins and ball bearings from some fans that perfectly fit cranshafts from an old DVD laser slide, so I can build a stronger crankshaft if this one fails me. I am assembling the crankshaft as you mentioned, with the conrods attached before I grind out the crankshaft portion, I'm just doing my best to ensure a perfect alignment with the jig before soldering/loctiting it together.
If I seem argumentative, I apologize. I like to explore many sides of an issue.
I love to be shown I'm wrong, after all, Dad always said to learn from my mistakes!
Ian S C
Posts: 2218
Joined: Thu Dec 02, 2010 5:15 am
Location: New Zealand

Re: LTD Power by Bagel

Post by Ian S C »

You can add a bit of balance weight to the flywheel when everything is all together.
The idea of heavier webs on the crank is to give greater strength in the joint. You could make thicker webs by using say three or fourbits of the metal you are using now, ans soldering them in a stack, so that if they are 1/16" thick, they become 1/4", just an idea to put aside till you need it. Ian S C
Jerry
Posts: 79
Joined: Sun Jul 29, 2012 10:42 pm
Location: Las Vegas

Re: LTD Power by Bagel

Post by Jerry »

Thanks Ian. I wonder if just soldering a couple of bushings would work as well. Good point about stability of the joints, thanks!
If I seem argumentative, I apologize. I like to explore many sides of an issue.
I love to be shown I'm wrong, after all, Dad always said to learn from my mistakes!
Ian S C
Posts: 2218
Joined: Thu Dec 02, 2010 5:15 am
Location: New Zealand

Re: LTD Power by Bagel

Post by Ian S C »

Jerry, yep,proberbly although I was thinking of stablising both the main shaft, and the crankpin in one go. The only reason the crankwebs on my little motor are so narrow is that tgere is no room for thicker, I had to carve quite a bit of metal from the inside of the bearing supports, I think there is about .010" clearance, but I was trying to see how small I could go.
Ian S C
Jerry
Posts: 79
Joined: Sun Jul 29, 2012 10:42 pm
Location: Las Vegas

Re: LTD Power by Bagel

Post by Jerry »

Spent that past couple of days researching crankshaft designs. I'm not trashing what I've made so far, but I think I'll save these pieces for another project and make the crankshaft larger with ball bearings. I want this engine to last, and using those small steel bearings (really bushings) from the toothbrush motors would require oiling and maintenance. I'm also concerned with the thickness of my crankshaft, even though it's LTD and therefor low torque, I don't want someone touching it and accidentally bending the crankshaft.

We have several old computers at work in storage, so I went to salvaging what I could from them. Got three sealed bearings from large fans, and 4 perfectly matched crankshaft pieces from a dvd drive laser slide and the fans, 3/8", 1/2", 2 1/2", and 3 3/4" and I believe 1/8" dia (didn't measure dia since they matched the bearings perfectly). I can use the 3 3/4" piece for the main crankshaft, and the 1/2" and 3/8" pieces for the crankweb shafts, with the 2 1/2" piece available for mistakes. I'm going to use the other two hinge pins I still have, and cast bearing boxes to fit over the tops using JB Weld. I'll wrap the bearings in shrink tube, then place them in a small mold made from aluminum sheet from soda cans, lined with plastic wrap. I can then machine them into good flanges, and finish them with some brass paint, and it should look pretty good. I may cast the crank webs in the same manner, so I can get a decent thickness.
Image
Luckily I've got plenty of room in the airpot cylinder I cut off to still use the existing airpot conrod without modification, and this crankshaft dia is a better fit to the rulon bearing (but still may need a few wraps of teflon tape). The extra height of the bearing boxes will also keep the magnets in the flywheel further away from the brass top plate.
If I seem argumentative, I apologize. I like to explore many sides of an issue.
I love to be shown I'm wrong, after all, Dad always said to learn from my mistakes!
Jerry
Posts: 79
Joined: Sun Jul 29, 2012 10:42 pm
Location: Las Vegas

Re: LTD Power by Bagel

Post by Jerry »

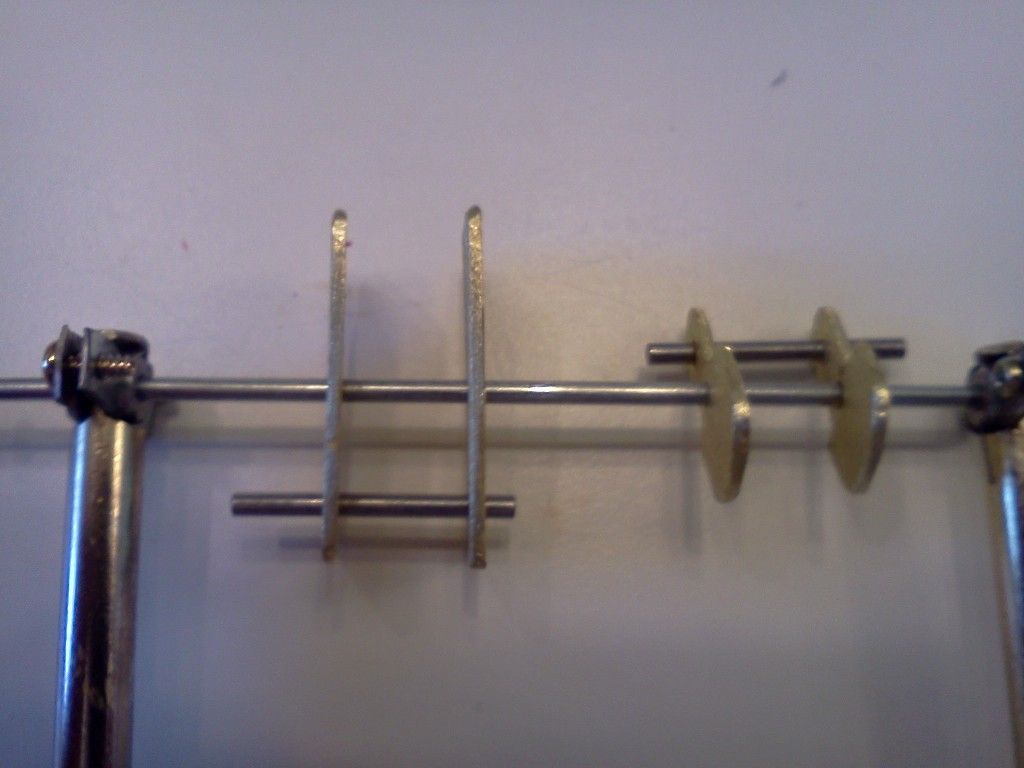
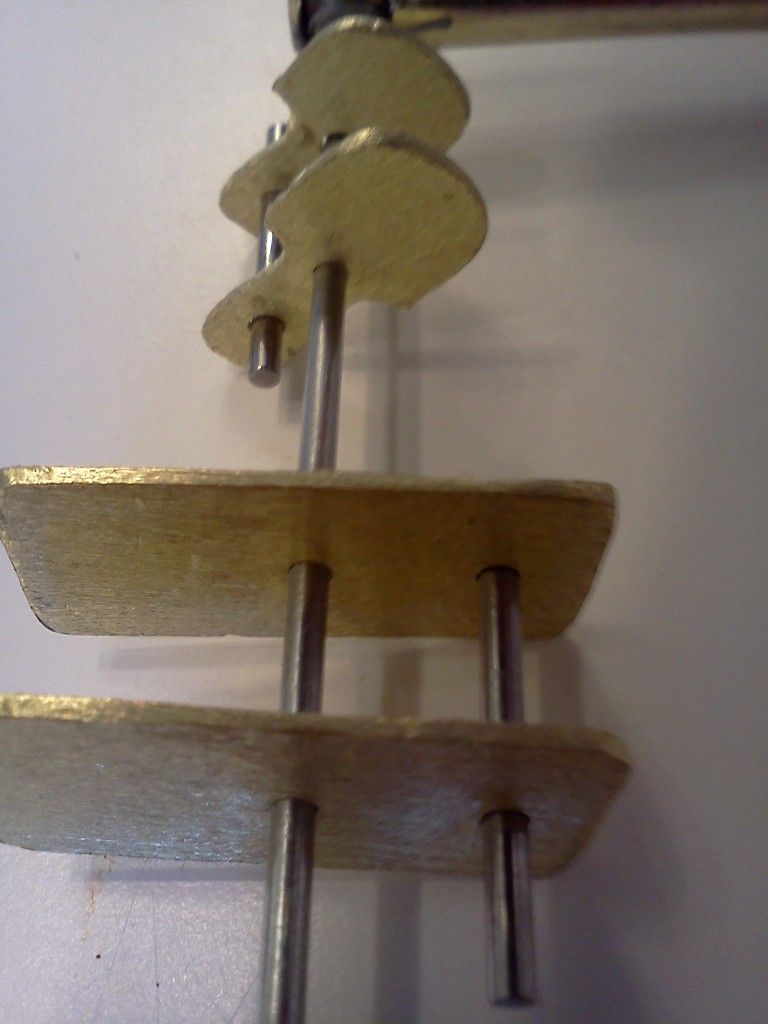
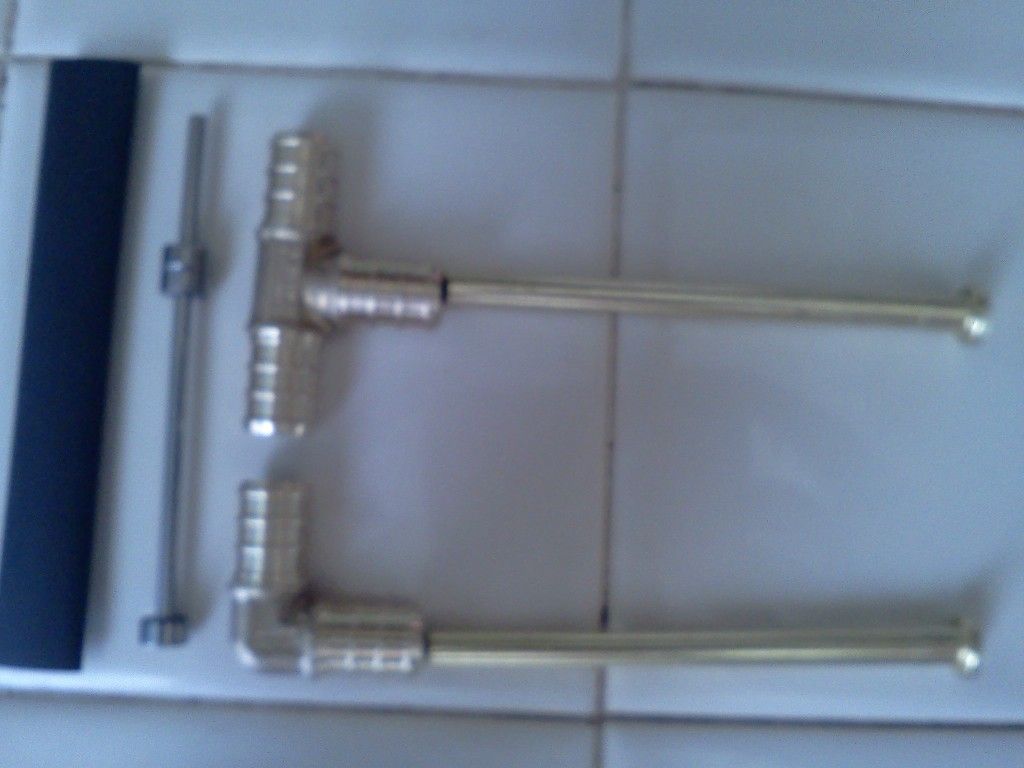
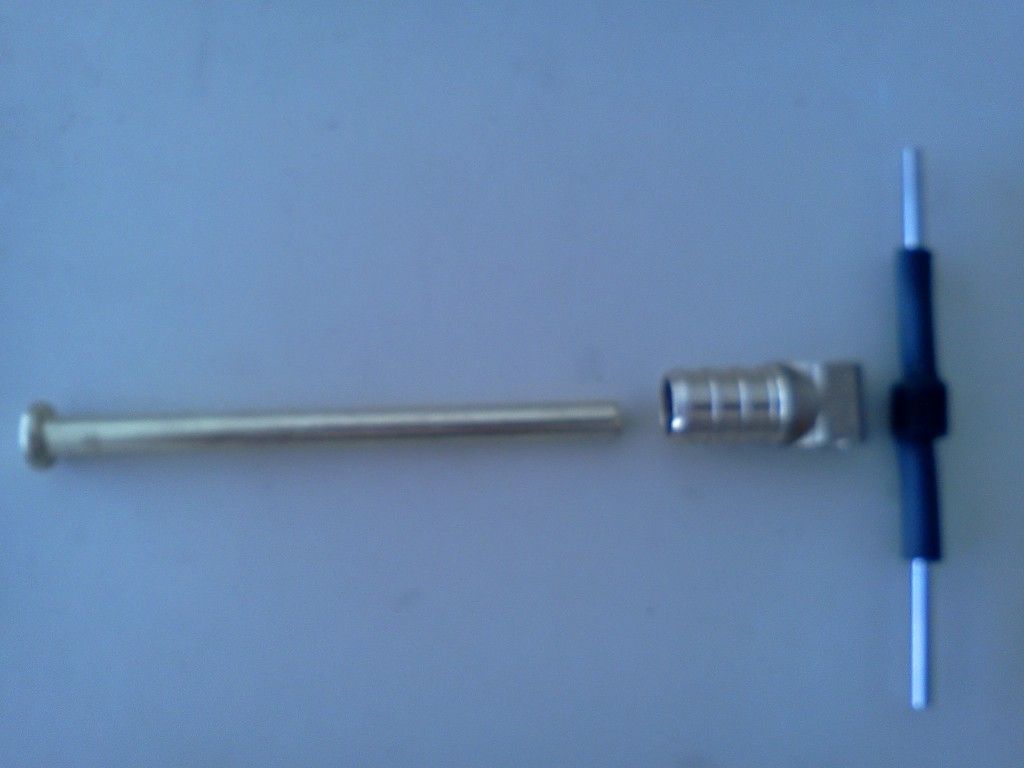
Finally got around to building the bearing boxes today. Decided to use some compression pipe fittings as the housings, filled with epoxy resin. Here's the parts:
Image
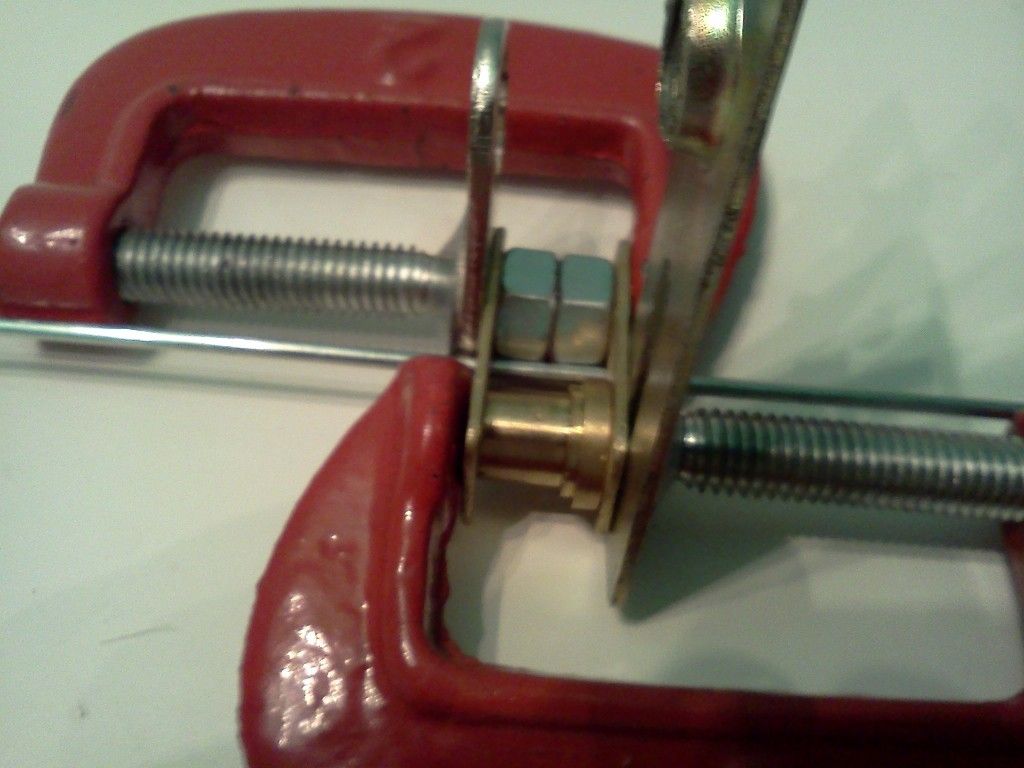
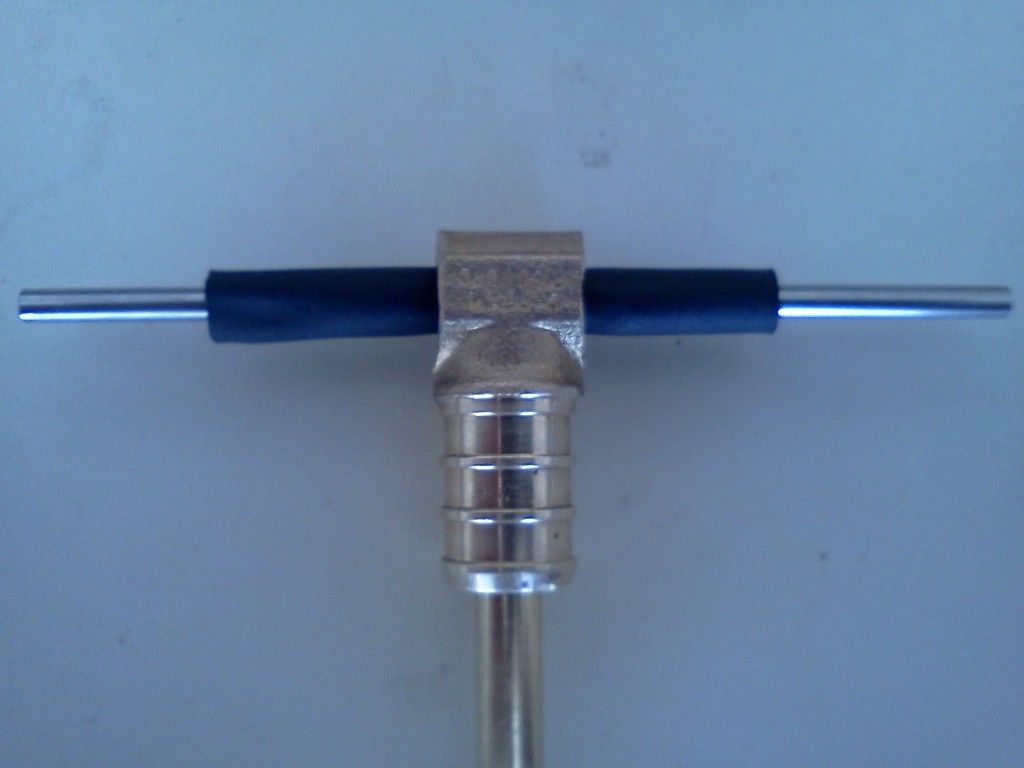
Cut off the ends of the compression pipe fitting, left the one for the crankstand to give good support.
Shrink wrap applied to the bearings, I used a size big enough to shrink down to the bearings without shrinking all the way to the shaft:
Image
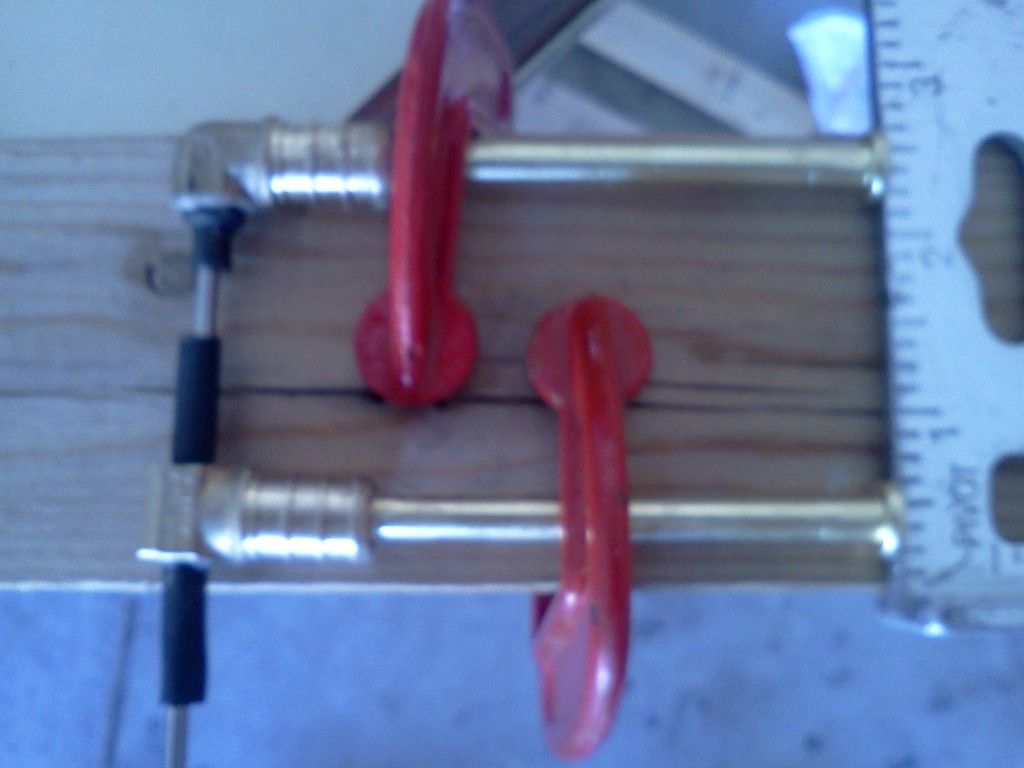
Bearings and crankstand installed:
Image
I put gobs of resin into the pipe fitting, then sucked/blowed to get it down in from both ends, as well as pushed it through with the crankstand, then held in place till partially set:
ImageImage
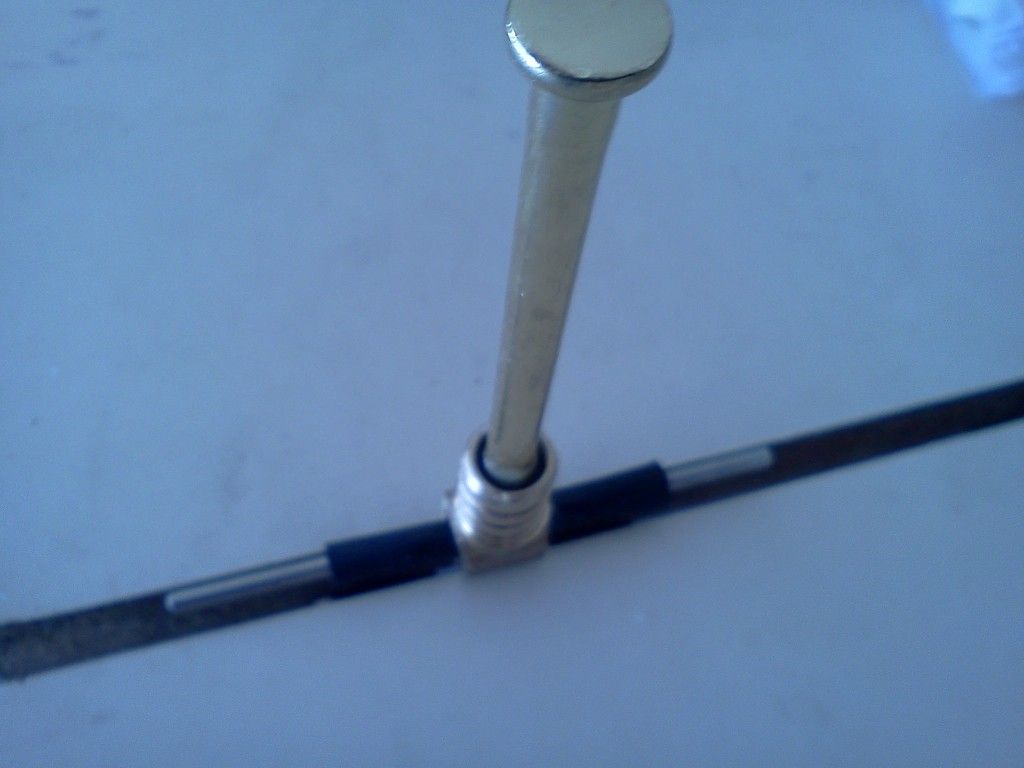
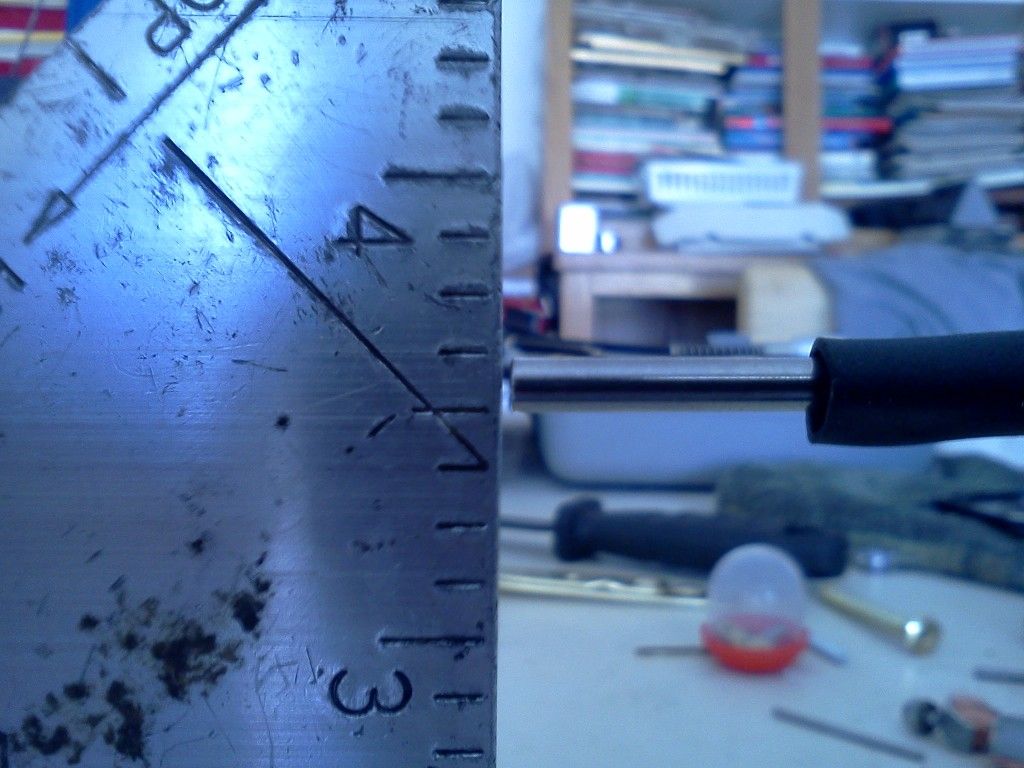
Before it was fully set, I checked to be sure the crankshaft was perpendicular to the crankstand:
ImageImage
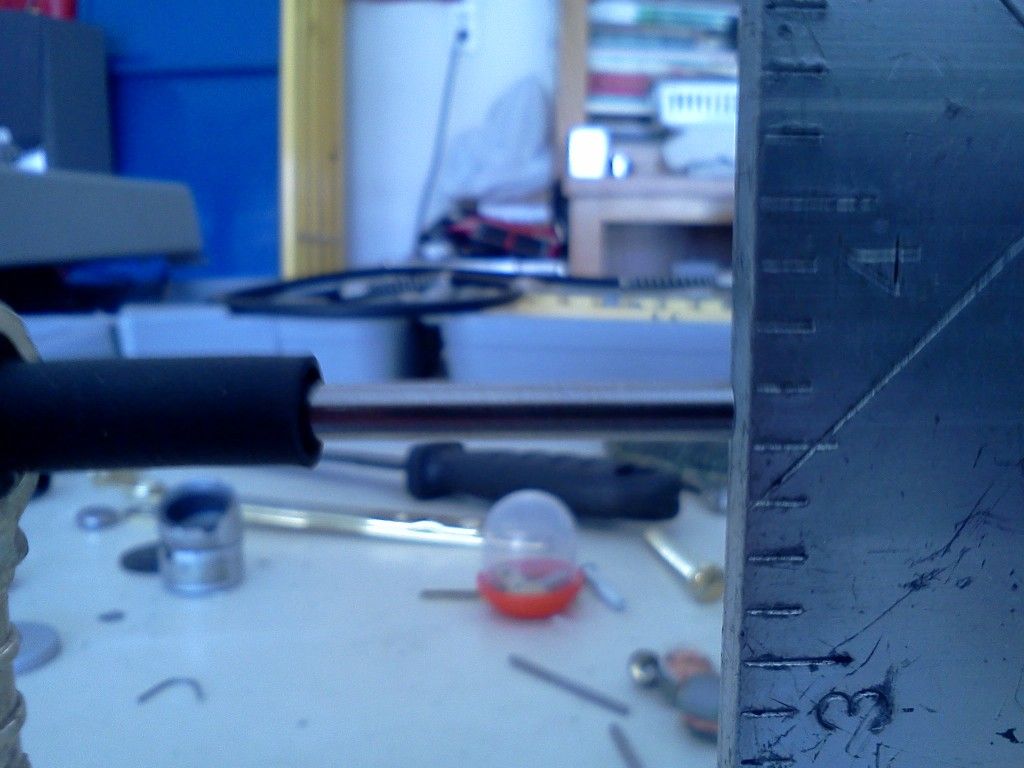
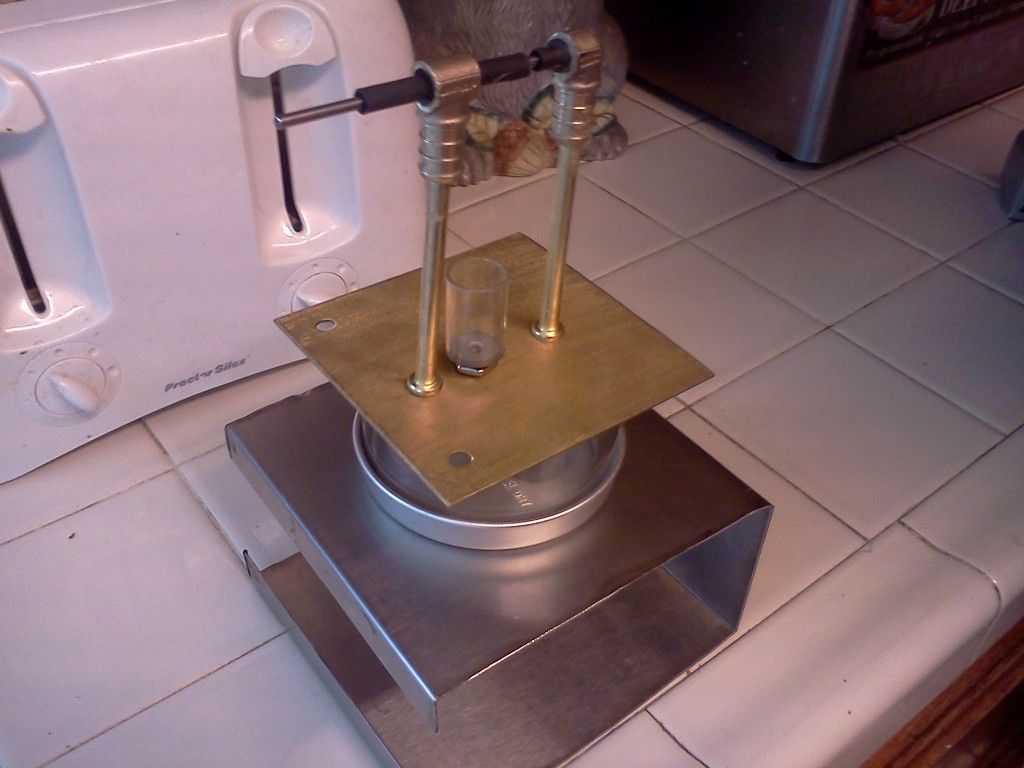
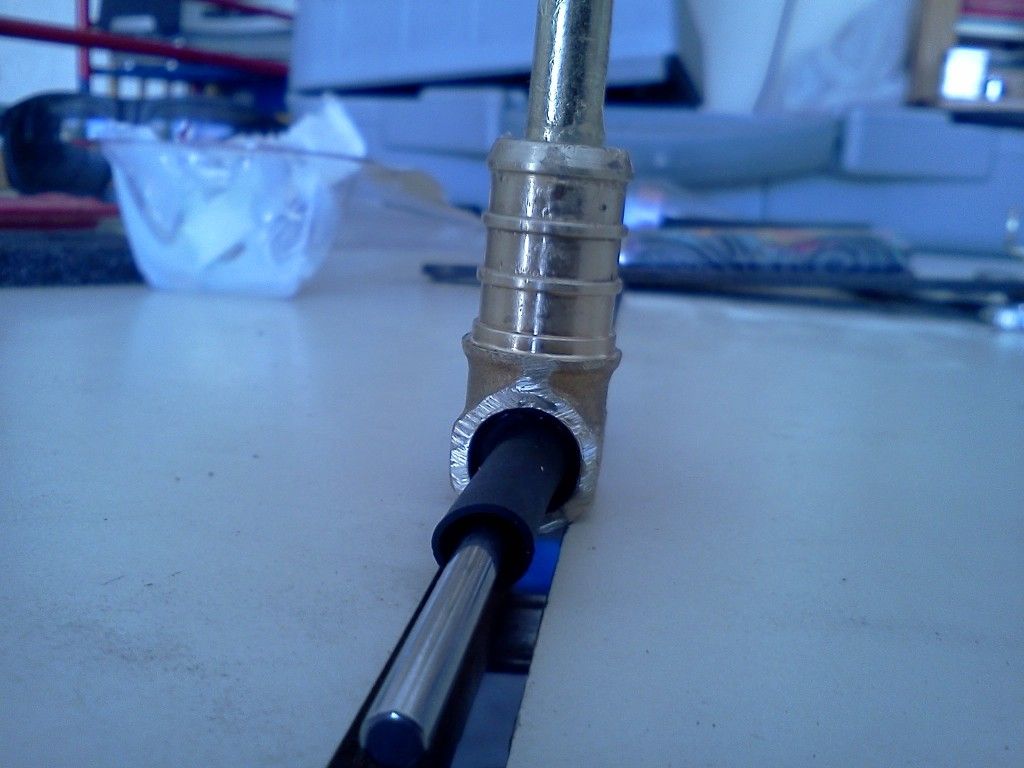
Did the same for the other end, wrapping the closed side of the bearing in some plastic to keep the resin out, then checked for trueness and free spinning crankshaft, then clamped to a board to set overnite, then I'll cut off the excess shrink tubing:
Image
It's not as "svelte" as the other set of crankstands I made, but should withstand a bump or too much better, and the ball bearings will most certainly improve performance.
If I seem argumentative, I apologize. I like to explore many sides of an issue.
I love to be shown I'm wrong, after all, Dad always said to learn from my mistakes!
Jerry
Posts: 79
Joined: Sun Jul 29, 2012 10:42 pm
Location: Las Vegas

Re: LTD Power by Bagel

Post by Jerry »

Cut and bent the hot box today. First I cut the flat shape out of the stainless steel from an old scale in the restaurant. I then ground shallow grooves into sheet at the point I wanted to bend. I then clamped the sheet to two 2x4 boards, leaving about a 1/8" gap, and pulled the two boards together, making a nice 90 degree bend with a slight radius. I still have to cut out the circle for the engine to sit in, will do that by drilling holes around the circle's circumference, then grind out the rest. A ceramic tile will go on the bottom to prevent the stainless from leaching the bagel's heat, acrylic in the front gap so the bagel is visible, corner support brackets for stability, and hinged hanging doors on either side to slide the bagels through. The hinges and a 4 corner support brackets will hide my rough cuts, leaving a pretty clean look.
Image

BTW- Ian: I did double up on the crankwebs material. I cut out the pieces and epoxied them together, will be drilling the holes after a 24 cure.
If I seem argumentative, I apologize. I like to explore many sides of an issue.
I love to be shown I'm wrong, after all, Dad always said to learn from my mistakes!
Ian S C
Posts: 2218
Joined: Thu Dec 02, 2010 5:15 am
Location: New Zealand

Re: LTD Power by Bagel

Post by Ian S C »

When I make up something like your hot box, first I get a bit of cardboard, and make up a dummy, and hopefully make all my misstakes with that(not saying you made any), I suppose I'm just chicken. Ian S C
Jerry
Posts: 79
Joined: Sun Jul 29, 2012 10:42 pm
Location: Las Vegas

Re: LTD Power by Bagel

Post by Jerry »

Cut the circle out of the hotbox for the aluminum bottom pan tonite. First time cutting a circle with a grinder for me. Had a goof or two, but they will be covered by the gasket material between the hotbox and aluminum pan (to prevent galvanic corrosion over time). It holds the pan just barely, so it should be a nice snug fit with the gasket installed.
Image
Image
At least I got something done this weekend, restaurant has been jumping thanks to labor day.
If I seem argumentative, I apologize. I like to explore many sides of an issue.
I love to be shown I'm wrong, after all, Dad always said to learn from my mistakes!
theropod2
Posts: 147
Joined: Tue Aug 16, 2011 5:05 am

Re: LTD Power by Bagel

Post by theropod2 »

Jerry,

Nice work. Cutting with a rotary tool is a skill indeed. I think your work will more than suffice. I wouldn't worry a great deal about galvanic actions too much. I imagine the engine could take the low temperature running for years before this contact point failed. Still, a hot bagel would give off water vapor, so if you have plans to avoid this go for it. Following progress intently! Keep posting updates, PLEASE!

:mrgreen:

R
Jerry
Posts: 79
Joined: Sun Jul 29, 2012 10:42 pm
Location: Las Vegas

Re: LTD Power by Bagel

Post by Jerry »

Thanks theropod, the really good news is I can use the disc I cut out together with other leftover parts from this project to make another slightly smaller LTD.

Got around to making the displacer gland from a UHMW piece from an old bracket on one of the big mixers in the bakery. Also cut the displacer itself from floral foam, going to wrap it in foil before mounting. Cut the front acrylic and two side doors for the hot box (still taped together with painters tape in this pic) from a single table advertisment stand.
Image
If I seem argumentative, I apologize. I like to explore many sides of an issue.
I love to be shown I'm wrong, after all, Dad always said to learn from my mistakes!
Ian S C
Posts: 2218
Joined: Thu Dec 02, 2010 5:15 am
Location: New Zealand

Re: LTD Power by Bagel

Post by Ian S C »

The foam I used on my LTD motor was ordenary packing stuff, and it crumpled a bit until I painted it with silver paint used for painting foam Christmas decorations. Hope you kept all the useful parts of the old mixer, as you should with all bits of machinery, if you continue with making anything. Ian S C
Post Reply